There is something fundamentally different about speaking to your AI agent rather than typing. When you type, you edit. You refine. You self-censor. When you speak, you think out loud. Ideas flow more naturally. And for many tasks — issuing quick commands while cooking, dictating notes while driving, or managing your agent while your hands are full — voice is not just more convenient. It is the only practical interface.
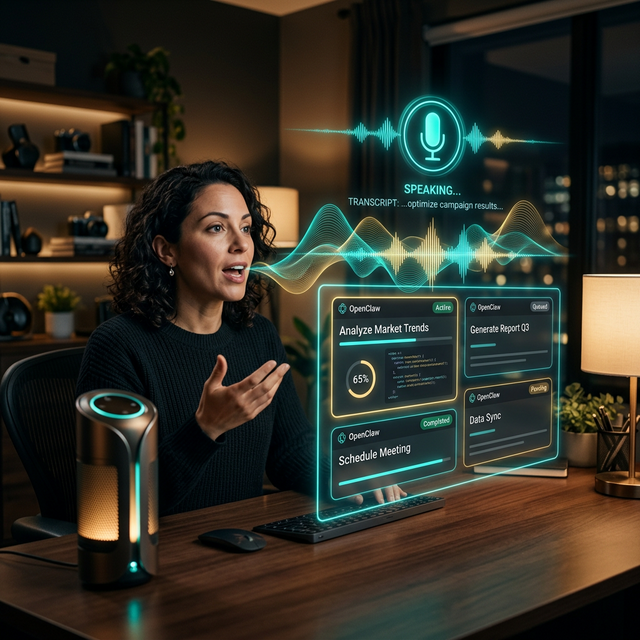
The February 2026 update brought significant improvements to OpenClaw's voice pipeline, making it feasible to run a complete voice-in, voice-out interaction loop with your agent. You speak a command. OpenClaw hears it, processes it, executes the task, and speaks the result back to you. No screen required.
This guide walks through the complete setup — from choosing your speech-to-text and text-to-speech providers to configuring voice workflows and building hands-free automation routines.
How the Voice Pipeline Works
OpenClaw's voice system has three components:
- Speech-to-Text (STT): Converts your spoken words into text that OpenClaw can process. This is the "ears" of the system.
- Language Model Processing: The standard OpenClaw pipeline — your message is processed by the LLM, tasks are executed, and a text response is generated.
- Text-to-Speech (TTS): Converts OpenClaw's text response into natural-sounding audio. This is the "mouth" of the system.
The key insight is that voice is an interface layer, not a replacement for the underlying agent. Everything OpenClaw can do via text — research, file management, coding, automation — it can also do via voice. You are simply changing how you communicate with it.
Step 1: Install the Voice Skill
Voice functionality is delivered through a dedicated skill on ClawHub:
# Install the voice pipeline skill
openclaw skills install voice-pipeline

# Verify installation
openclaw skills list | grep voice
You should see:
✓ voice-pipeline@1.4.0 — Voice input/output for OpenClaw
Step 2: Configure Speech-to-Text
OpenClaw supports several STT providers. The best choice depends on your priorities — accuracy, speed, privacy, and cost.
Option A: OpenAI Whisper API (Recommended)
Whisper is the gold standard for speech recognition. The API version provides excellent accuracy across languages with minimal configuration:
# In ~/.openclaw/config.yaml
voice:
  stt:
    provider: "whisper"
    model: "whisper-1"
    api_key: "${OPENAI_API_KEY}"    # Reuses your existing OpenAI key
    language: "en"                   # Optional: auto-detects if omitted
Option B: Local Whisper (Privacy-First)
If you want your voice data to never leave your machine, run Whisper locally. This requires more hardware but provides complete privacy:
# Install the local Whisper runtime
openclaw voice install-local-stt
voice:
  stt:
    provider: "whisper-local"
    model: "medium"        # Options: tiny, base, small, medium, large
    device: "auto"         # Uses GPU if available, falls back to CPU
The medium model offers the best balance of accuracy and speed for most machines. If you have an M-series Mac or a dedicated GPU, the large model provides near-perfect transcription.
Option C: Deepgram (Low Latency)
For the fastest response times, Deepgram's streaming API provides real-time transcription with sub-300ms latency:
voice:
  stt:
    provider: "deepgram"
    api_key: "your-deepgram-key"
    model: "nova-2"
    punctuate: true
    smart_format: true
Provider Comparison
| Provider | Accuracy | Speed | Privacy | Cost |
|---|---|---|---|---|
| Whisper API | Excellent | Fast | Cloud | ~$0.006/min |
| Whisper Local | Very Good | Moderate | Full | Free (your hardware) |
| Deepgram | Very Good | Very Fast | Cloud | ~$0.005/min |
Step 3: Configure Text-to-Speech
This is where your agent gets its voice. The TTS provider determines how natural and expressive OpenClaw sounds when it speaks back to you.
Option A: ElevenLabs (Most Natural)
ElevenLabs produces the most natural-sounding voices available today. You can choose from their library or clone your own voice:
voice:
  tts:
    provider: "elevenlabs"
    api_key: "your-elevenlabs-key"
    voice_id: "rachel"              # Or any voice from their library
    model: "eleven_turbo_v2_5"      # Fastest model
    stability: 0.5
    similarity_boost: 0.75
Option B: OpenAI TTS (Simple Setup)
If you already have an OpenAI API key, their TTS is the easiest to set up:
voice:
  tts:
    provider: "openai"
    api_key: "${OPENAI_API_KEY}"
    voice: "nova"                   # Options: alloy, echo, fable, onyx, nova, shimmer
    model: "tts-1"                  # Or tts-1-hd for higher quality
    speed: 1.0
Option C: Local TTS with Piper (Offline)
For fully offline voice output, Piper is a fast, lightweight TTS engine that runs entirely on your machine:
openclaw voice install-local-tts
voice:
  tts:
    provider: "piper-local"
    voice: "en_US-amy-medium"
    output_device: "default"
Step 4: Choose Your Input Device
OpenClaw needs to know how to listen for your voice. There are three modes:
Push-to-Talk
The most reliable mode. You press a hotkey to start recording, and release to send:
voice:
  input_mode: "push-to-talk"
  hotkey: "F5"                      # Or any key you prefer
Wake Word
Hands-free activation using a wake word, similar to "Hey Siri" or "OK Google":
voice:
  input_mode: "wake-word"
  wake_word: "hey claw"             # Custom wake phrase
  wake_word_sensitivity: 0.6        # 0.0-1.0, higher = more sensitive
  silence_timeout: 2.0              # Seconds of silence before processing
The wake word detection runs locally using a lightweight model, so it does not send audio to the cloud until after the wake word is detected.
Always Listening (Conversation Mode)
For extended back-and-forth sessions, conversation mode keeps the microphone open and uses voice activity detection (VAD) to determine when you are speaking:
voice:
  input_mode: "conversation"
  vad_sensitivity: 0.5
  silence_timeout: 1.5
  auto_stop_after: 300              # Auto-disable after 5 minutes of silence
Privacy Note: In conversation mode, audio is continuously captured by your local microphone but is only processed (sent to STT) when voice activity is detected. No audio is stored or transmitted during silence.
Step 5: Test Your Voice Setup
Run the built-in voice test to verify everything is working:
openclaw voice test
This will:
- Check your microphone input
- Record a short sample and run it through STT
- Generate a TTS response and play it back
- Report latency for each step
A healthy setup should show end-to-end latency under 3 seconds for cloud providers and under 5 seconds for fully local configurations.
Step 6: Voice-Specific Commands
Once voice is enabled, you can use some voice-specific features that do not apply to text input:
Voice Memos
You (speaking): "Hey Claw, save a voice memo: I just had an idea for the
                landing page — we should add a video testimonial section
                above the fold."
OpenClaw transcribes your memo, timestamps it, and saves it to your notes. You can later ask it to retrieve or organize your voice memos.
Dictation Mode
You: "Hey Claw, start dictation mode for my blog post about
     machine learning."
In dictation mode, OpenClaw writes down everything you say into a document, with punctuation and formatting applied automatically. You can say "new paragraph" or "heading two" to control structure.
Ambient Briefing
You: "Hey Claw, give me my morning briefing."
OpenClaw speaks your personalized morning briefing — calendar events, important emails, weather, news summaries, and pending task reminders — while you get ready for your day.
Real-World Voice Workflows
The Hands-Free Developer
Carlos, a full-stack developer in Austin, uses voice control with OpenClaw and Antigravity to code while pacing around his office:
"I think better when I walk. With voice control, I describe what I want — 'add error handling to the payment controller, wrap the Stripe calls in try-catch blocks and log failures to Sentry' — and Antigravity writes it. I review the PR on my phone later. My step count has tripled since I stopped sitting at my desk all day."
The Accessible Workspace
Nadia, a project manager with RSI (repetitive strain injury), uses OpenClaw voice as her primary computer interface:
"Typing is painful for me, so voice control is not a convenience — it is a necessity. I manage my whole team through OpenClaw: 'schedule a standup for tomorrow at 10,' 'send the sprint summary to the team channel,' 'pull the latest KPIs from the analytics dashboard.' I have not touched a keyboard in three weeks and my productivity has actually improved."
The Kitchen Commander
David, a restaurant owner in Melbourne, runs his business operations by talking to OpenClaw while he preps food in the kitchen:
"My hands are covered in flour half the day. I yell at OpenClaw to check the inventory orders, read me the day's reservations, and send confirmation texts to large party bookings. My sous chef thinks I have lost it, but the restaurant runs smoother than ever."
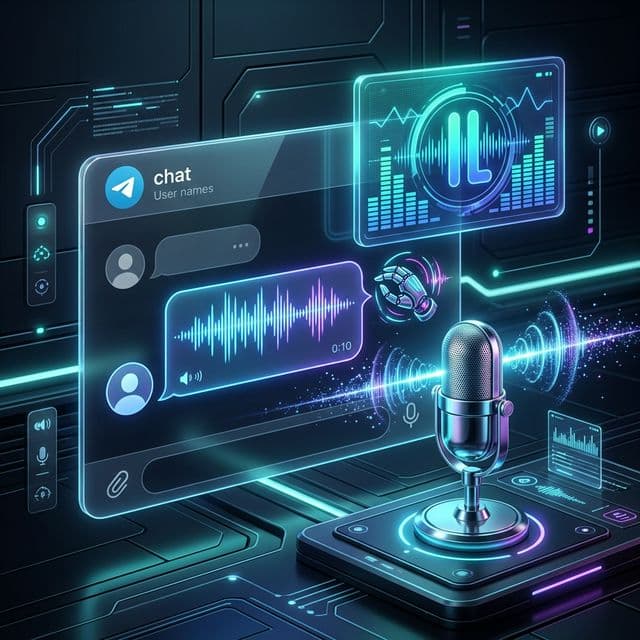
Advanced: Voice Channels Across Messaging Platforms
Voice does not have to mean a local microphone. OpenClaw can receive voice messages from messaging platforms and process them through the same pipeline:
voice:
  messaging_voice:
    enabled: true
    platforms:
      - whatsapp        # Process WhatsApp voice notes
      - telegram        # Process Telegram voice messages
      - discord         # Process Discord voice channel input
    auto_transcribe: true
    respond_with_voice: true   # Send voice replies, not text
With this configuration, you can send a WhatsApp voice note to OpenClaw and receive a voice note back. The entire interaction happens through voice, even though it is routed through a messaging platform.
Troubleshooting
"Microphone not detected"
Ensure your microphone is the default input device in your system settings. On macOS, check System Settings > Sound > Input. On Linux, verify with arecord -l.
"STT returning gibberish"
This usually indicates a language mismatch or too much background noise. Set the language parameter explicitly and consider using a better microphone or enabling noise suppression.
"TTS audio is choppy"
This is typically a network latency issue with cloud TTS providers. Switch to a faster model (e.g., eleven_turbo_v2_5 for ElevenLabs) or use a local TTS provider.
"Wake word triggering on TV audio"
Reduce wake_word_sensitivity to 0.3–0.4, or use a more distinctive wake phrase. Directional microphones also help by rejecting audio that does not come from your direction.
Conclusion
Voice transforms OpenClaw from a tool you sit down to use into an ambient presence that you interact with throughout your day. The setup takes about 15 minutes, and once configured, you will wonder how you ever managed your AI agent by typing everything.
Start with push-to-talk mode and the Whisper API — it is the most reliable combination for beginners. Once you are comfortable, experiment with wake word activation and conversation mode. And if privacy matters to you, the fully local stack (Whisper + Piper) runs entirely on your hardware with zero cloud dependencies.
Your hands are free. Your agent is listening. Just talk.