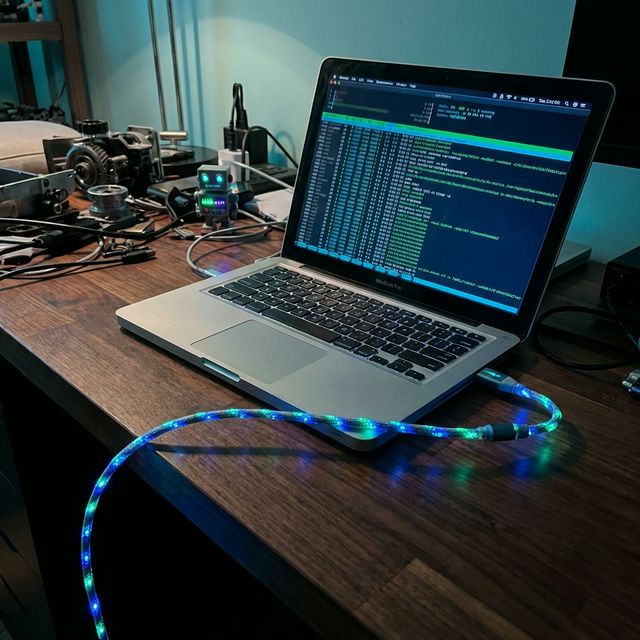
You have an old MacBook Pro sitting in a drawer. Maybe it's a 2019 Intel i9 that runs too hot, or an M1 Air that you replaced with the new M5. It’s just a bit too slow for your daily video editing or coding workflow, but it is far too powerful to simply recycle.
In 2026, the gap between "consumer hardware" and "AI hardware" has widened. While local models now require massive NPU setups, the orchestration—the actual "thinking" and tool use—can run on almost anything.
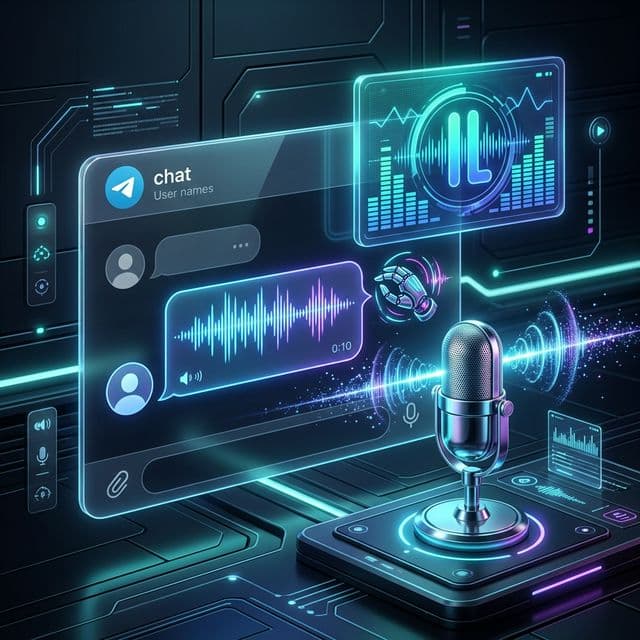
Instead of trading it in for peanuts, you can repurpose this hardware into something far more valuable: A Dedicated, Always-On AI Employee.
This guide will show you exactly how to wipe, secure, and configure an older Mac to run OpenClaw safely. We will focus specifically on using Cloud Models (like the new Claude Opus 4.6 or ChatGPT 5.2) so you don't need a powerful chip to get genius-level intelligence. The Mac becomes just a "body" for the super-intelligent brain in the cloud.
The Security Dilemma
The single biggest risk with running an autonomous agent like OpenClaw is access.
If you install OpenClaw on your main computer, in your main user account, you are giving an AI—which can hallucinate—access to:
- Your saved Chrome passwords.
- Your logged-in email.
- Your photos and documents.
- Your SSH keys.
- Your active Slack/Discord sessions.
Do not do this.
For a dedicated AI machine, we need Total Isolation. We want the AI to have "God Mode" over its machine, but we want that machine to be empty of your personal data. This is the "Airlock" principle of AI safety.
Phase 1: Hardware Suitability
Before we begin, is your Mac up to the task?
Minimum Specs for an "Agent Node":
- Processor: Intel Core i5 (2018 or later) or any Apple Silicon (M1+).
- Why Intel is fine: Since the heavy lifting (inference) is done in the cloud, the CPU only needs to run Node.js and the browser. An old 2018 MacBook Pro is perfectly adequate for this.
- RAM: 8GB minimum (16GB recommended if you plan to use the "Browser Control" skill heavily).
- Storage: 128GB SSD is plenty.
The "Clamshell" Requirement: You will likely be running this laptop with the lid closed, tucked away on a shelf or under a desk. Ensure you have a functioning power adapter.
Phase 2: The "Nuke" Option (Recommended)
If this is truly a spare laptop, the safest path is a Factory Reset. This ensures no old files, cookies, or login sessions remain. This is the Gold Standard for security.
Step 1: Wipe the Drive
- Backup: Ensure you have absolutely nothing you need on this laptop. Data recovery will be impossible after this step.
- Recovery Mode:
- Intel Macs: Restart and hold
Command + Runtil the Apple logo appears. - Apple Silicon Macs: Press and hold the power button until "Loading startup options" appears, then select Options > Continue.
- Intel Macs: Restart and hold
- Disk Utility: Select "Disk Utility."
- Erase: Select "Macintosh HD" in the sidebar and click "Erase."
- Format: APFS (Encrypted). Crucial: Choose the encrypted option so that if someone steals the laptop, they cannot access the AI's data.
- Name: "AI_Runner" (or whatever you like).
- Reinstall: Close Disk Utility and select "Reinstall macOS."
Step 2: The "AI Admin" Account
When macOS installs, it will ask you to create a user account.
- Name:
OpenClaw - Password: A strong, unique password (different from your main Mac).
- Apple ID: SKIP THIS. Do not sign in with your personal Apple ID. Click "Set Up Later" or "Skip." This prevents your iMessages, Photos, and Keychain from syncing to this insecure environment.
- Location Services: Turn OFF.
- Siri: Turn OFF.
Phase 3: The "Guest" Option (Alternative)
If you cannot wipe the laptop because you still use it occasionally (e.g., it's a family shared computer), you must create a segregated environment. This is less secure than a wipe but "good enough" for most.
- Go to System Settings > Users & Groups.
- Click Add Account.
- Type: "Standard" (NOT Administrator). This limits the damage the AI can do to system files.
- Note: OpenClaw often needs some admin rights to install tools (like
brew). You may need to grant temporary admin rights during setup, then revoke them.
- Note: OpenClaw often needs some admin rights to install tools (like
- Name:
AI_Agent. - Log Out of your main account completely.
- Log In to the new
AI_Agentaccount.
Critical Rule: Never sign into iCloud, Chrome, or any personal services inside this account. Use it only for OpenClaw.
Phase 4: Network Hardening
An autonomous agent connects to the internet. To prevent it from "phoning home" to malicious sites (if it gets tricked by a prompt injection), you should lock down its network access.
Install LuLu (Free Firewall):
- Download LuLu by Objective-See (an open-source firewall).
- Set it to Block mode by default.
- Allow OpenClaw (Node) to connect only to:
api.anthropic.com(or your chosen LLM provider).api.github.com(if you use GitHub integration).- The specific websites you want it to scrape.
This ensures that even if the AI tries to send your data to evil-hacker.com, the firewall will intercept the request.
Phase 5: Setting Up the Environment
Now that you have a clean slate, let's install the plumbing.
Open the Terminal app. You will notice it feels "snappy" on a fresh install.
1. Install Homebrew (The Package Manager)
This is the app store for developers.
/bin/bash -c "$(curl -fsSL https://raw.githubusercontent.com/Homebrew/install/HEAD/install.sh)"
2. Install Node.js & Git
OpenClaw 2.4+ runs on Node.js 22 LTS (the current standard in 2026).
brew install node git
3. Install OpenClaw
npm install -g openclaw
(Always verify the latest installation command from the official docs).
Phase 6: Connecting the Brain (2026 Model Recommendations)
Since your old MacBook (likely an Intel i5/i7) is too slow to run the new local Llama-5-70B models, we will use the cloud.
As of February 2026, here are the recommended "Brains" for your agent:
Top Pick: Claude Opus 4.6 (Anthropic)
The current king of "Agentic Reasoning." It is significantly better at coding and multi-step planning than previous generations.
- Cost: ~$8 / million tokens.
- Best for: Coding, complex research, writing.
Budget Pick: DeepSeek-V4 (API)
An incredibly efficient model. If you are running tasks that require thousands of repetitive steps (like scraping 500 websites), use this to save money.
- Cost: ~$1 / million tokens.
- Best for: Scraping, summarization, data entry.
The "Smartest" Pick: ChatGPT 5.2 (OpenAI)
If you need absolute precision and money is no object.
- Cost: ~$15 / million tokens.
- Best for: Creative writing, high-stakes decision making.
Configuration: Run the setup command:
openclaw setup
Paste your chosen API key. Security Tip: Set a "Usage Limit" (Hard Cap) in your API provider's dashboard (e.g., $20/month) so a runaway loop doesn't bankrupt you.
Phase 7: The Physical Sandbox (Lid-Closed Mode)
You want this laptop to run like a server.
- Power: Keep it plugged in.
- Amphetamine: Download the free app Amphetamine (or use the command line
caffeinate) to prevent the Mac from sleeping when the lid is closed.- Apps Store not signed in? Download it directly from the developer's GitHub or use
brew install --cask amphetamine.
- Apps Store not signed in? Download it directly from the developer's GitHub or use
- Start on Boot:
Use
pm2(Process Manager) to keep OpenClaw running even if it crashes or the Mac reboots.npm install -g pm2 pm2 start openclaw --name "ProjectLazarus" pm2 startup
Phase 8: Secure Data Transfer
How do you get files to and from your new AI employee without logging into your personal DropBox (which breaks the "Airlock" rule)?
Option A: Syncthing (Recommended) Use Syncthing (open source) to sync a specific folder between your main computer and the AI Mac. It requires no login accounts and works over your local LAN.
- Create a folder
~/OpenClaw_Inbox. - Any file you drop there from your main Mac appears instantly on the AI Mac.
Option B: The "Dead Drop" Network Share
Enable "File Sharing" in System Settings > General > Sharing. Connect to the AI Mac over your local network (smb://ai-runner.local) and drag files into the Public folder.
Summary Checklist
- Wipe the Mac (APFS Encrypted).
- Skip Apple ID login.
- Install Homebrew, Node.js 22, and LuLu firewall.
- Configure OpenClaw with a 2026-era API Key (Claude Opus 4.6 recommended).
- Set Limits on your API billing dashboard.
- Install
pm2to keep the agent running 24/7. - Enable Syncthing for air-gapped file transfer.
Your old MacBook is no longer a paperweight. It is now a Project Lazarus Node—a dedicated, secured, always-on intelligence that works while you sleep.